How to Automate Slack to Notion Tasks with Make
This article contains affiliate links to Make. If you sign up through them, Mike Says may earn a commission at no extra cost to you. This guide is based on Make, Slack and Notion's official documentation. It is not a hands-on test or review.
Good ideas and to-dos get lost in Slack every day. Someone says "can you sort this by Friday?" in a busy channel, and by Monday it's 200 messages up and forgotten.
This guide shows you how to fix that with Make. You react to a Slack message with a ✅ emoji, and Make creates a task in your Notion database. The task includes the message text, who sent it, which channel it came from, a link back to the original message, and a status of "To Do". Affiliate link · I may earn commission from a qualifying purchase at no extra cost to you.
No code. Just a few modules, one filter and some careful field mapping.
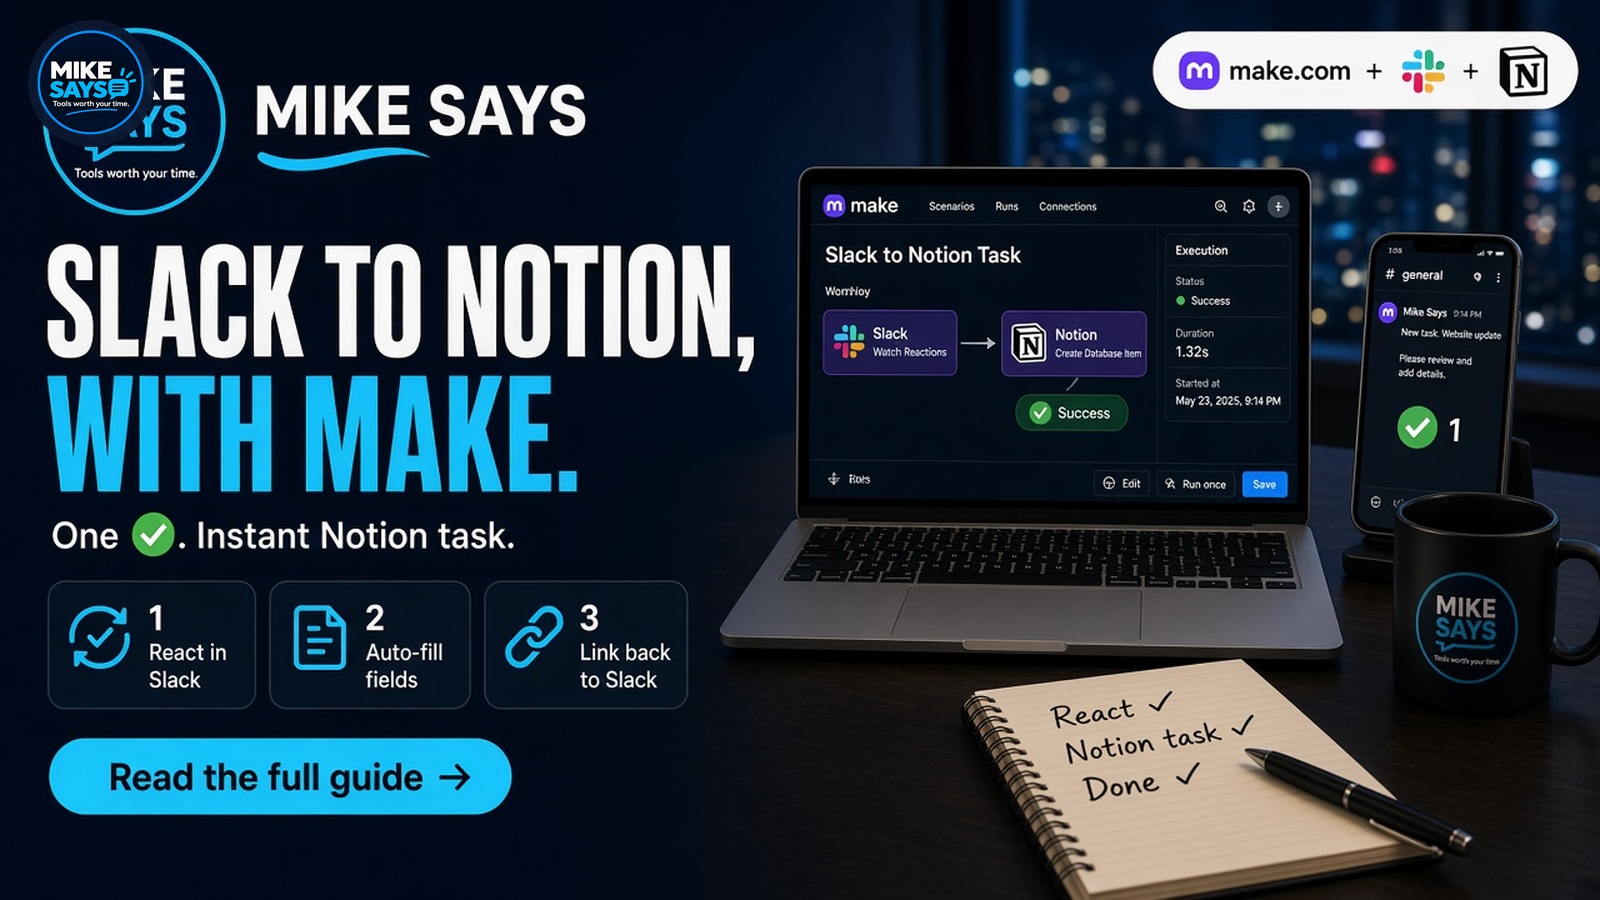
Campaign artwork for this guide.
Published 6 October 2026. Based on Make, Slack and Notion's official documentation. This is a documented setup guide, not a hands-on test or review.
Who this is for
This setup suits you if:
- You run a small business, agency or creator team that works in Slack and plans in Notion.
- Tasks regularly turn up in Slack threads and channels rather than in your task board.
- You want a one-tap capture habit (add an emoji) rather than copying and pasting.
- You're happy with a short, no-code build and want to control exactly which fields land in Notion.
If you're new to Make, read our Make review first for an overview, then come back here.
What you'll build
Here's the finished scenario, left to right:
- Slack – Watch New Events (instant trigger, event type: New reaction)
- Filter – only continue if the reaction is
white_check_mark(✅) and it's in your chosen channel - Slack – Get a Public Channel Message – fetches the full message that was reacted to
- Slack – Make an API Call – gets a permalink to the message (Slack's
chat.getPermalinkmethod) - Slack – Get a User (optional) – turns the sender's user ID into a readable name
- Notion – Create a Data Source Item – creates the task in your Notion database
A quick note on names. Make doesn't have a separate "Watch Reactions" module. Reactions come through Watch New Events, where New reaction is one of the event types. And in Notion, the older Create a Database Item module is now marked Legacy. Make recommends the newer Create a Data Source Item for new builds, following Notion's September 2025 API change.
Before you start: is Slack's built-in Notion app enough?
Be honest with yourself here, because it might save you a scenario.
Notion's official Slack integration lets you click ⋮ → Send to Notion on any Slack message, or type /notion create. You pick a database, give the page a title and fill in properties. Notion's help centre says the new page includes a link back to the Slack message.
The native app is probably enough if:
- You only capture a handful of tasks a week.
- You don't mind filling in a small form each time.
- You don't need anything extra to happen, like a confirmation reply or automatic tagging.
Make is worth it if:
- You want one tap, with no form: add ✅ and you're done.
- You want fields filled in automatically every time (sender, channel, link, status, date).
- You want to add steps later, like posting a "Task created" reply in the thread, setting a due date or routing different channels to different databases.
- You want one consistent rule for the whole team instead of relying on everyone filling in forms the same way.
What you need
- A Make account. The Free plan is fine for trying this out (check Make pricing for current plans).
- A Slack workspace where you can connect apps. Make's docs warn that workspace owners can block or restrict third-party apps, and Make isn't listed in the Slack Marketplace. If the connection fails, ask your Slack admin.
- A Notion workspace, plus a tasks database. Make's docs say you need admin permissions in Notion to create the connection.
Set up your Notion tasks database
Create (or tidy up) a Notion database with these properties:
| Property | Type | Purpose |
|---|---|---|
| Task | Title | First ~100 characters of the Slack message |
| Details | Text | Full message text |
| Sender | Text | Who wrote the message in Slack |
| Channel | Text (or Select) | Where it came from |
| Slack link | URL | Permalink back to the original message |
| Status | Status or Select | Set to "To Do" automatically |
| Captured | Date | When the task was created |
Keep property names simple. You'll be matching them by name in Make.
Step-by-step: Slack to Notion with Make
Step 1: Create the scenario and add the Slack trigger
- In Make, create a new scenario and add Slack → Watch New Events.
- Click Create a webhook and name it something clear, like "✅ reaction to Notion".
- Set Event type to New reaction.
- Create or select a Slack connection. Make's docs say Slack Watch modules currently only work with a Slack (user) connection, so pick that over a bot connection.
- Optionally pick the Channel to watch, then save.
Make attaches the webhook to Slack for you. There's nothing to configure on the Slack side.
Next, click Run once in Make and add a ✅ reaction to a test message in Slack. That gives you a real sample bundle to map from. Expand the output and note the field names. Slack's reaction_added event includes the reaction name, the user who reacted, the message author and an "item" containing the channel ID and message timestamp. Make's labels may differ slightly, so map from what you actually see.
Step 2: Add a filter so only ✅ fires
This is the step that stops you burning credits and filling Notion with junk.
Click the link (the small spanner icon) between the trigger and the next module, then choose Set up a filter:
- Label: Only ✅ in #tasks
- Condition 1: Reaction — Text operators: Equal to —
white_check_mark - AND Condition 2: Item → Channel — Equal to — your channel ID (for example
C0123ABC45)
Use the emoji's name, not the emoji itself. ✅ in Slack is white_check_mark. If your team prefers a custom emoji such as :task:, use that name instead.
The channel condition matters if you didn't choose a channel in the webhook, or if you plan to reuse the scenario. One emoji, one channel, one rule keeps things predictable.
Step 3: Fetch the full message
The reaction event tells you which message was reacted to, but not what it says. So add Slack → Get a Public Channel Message (or Get a Private Channel Message for private channels).
- Connection: your Slack user connection
- Public Channel: map the channel ID from the trigger's Item → Channel
- Message ID (timestamp): map Item → TS (the message timestamp) from the trigger
The output gives you the message Text, the author's User ID and the timestamp.
Step 4: Get a link back to the message
Make's Slack docs don't list a dedicated "permalink" module, so use Slack → Make an API Call. It runs any Slack Web API method through your existing connection.
- URL:
/chat.getPermalink - Method: GET
- Query String:
channel= channel ID from Step 1;message_ts= message timestamp from Step 1
The response body contains a permalink field. Map that into Notion later.
Lower-credit alternative: skip this module and build the link with Make's text functions, in the format Slack uses for message links. It works, but the API call is more reliable, so it's the one recommended here.
Step 5 (optional): Turn the user ID into a name
Slack returns a user ID like U04ABC123, which isn't very readable in Notion. Add Slack → Get a User and map the User field from Step 3. Then use the real name or display name from the output.
Skip it if you're watching credits. You can always map the raw ID instead.
Step 6: Create the Notion task
Add Notion → Create a Data Source Item.
- Create a Notion connection. With the public connection you pick which pages Make can access during sign-in. With the internal connection you open your database in Notion, click … → Add connections and choose your integration. Otherwise the database won't appear in Make.
- Select your tasks database's data source. Make's docs explain that the new modules use a
data_source_idrather than the olderdatabase_id. If you need to find it manually, look under the database's settings for "Manage data sources". - Map the fields:
| Notion property | Map from | Example formula / value |
|---|---|---|
| Task (Title) | Step 3 → Text | substring(Text; 0; 100) |
| Details (Text) | Step 3 → Text | full text |
| Sender (Text) | Step 5 → Real name (or Step 3 → User) | — |
| Channel (Text) | Step 1 → Item → Channel | or type the channel name |
| Slack link (URL) | Step 4 → Body → permalink | — |
| Status | static value | To Do |
| Captured (Date) | Make's now variable | — |
If your Status property is Notion's Status type, make sure "To Do" exactly matches an existing option, including capitals.
Step 7: Test, then switch it on
- Click Run once, then react ✅ to a real test message.
- Check every module's output bubble. Then check that the Notion task appears with all fields filled.
- React with a different emoji, like 👍. The scenario should stop at the filter.
- When it's working, save and switch the scenario on.
Because the trigger is instant (webhook-based), you don't need a schedule. Make starts the scenario when Slack sends the event.
Credits and cost: what this uses on the Free plan
Make bills in credits. According to Make's pricing page and help centre:
- The Free plan includes 1,000 credits a month.
- The Free plan also caps you at 2 active scenarios at a time, so switch this one off if you're already running two others.
- Most non-AI module actions use 1 credit per operation.
- A trigger runs once per check or event, and each later module runs once per bundle it processes.
- Make's pricing page says router modules don't use credits.
- If you run out, scenarios stop until credits are topped up. Incoming webhooks are queued up to your plan's limit.
Estimate for this scenario (one task created):
| Module | Credits |
|---|---|
| Watch New Events (trigger) | 1 |
| Get a Public Channel Message | 1 |
| Make an API Call (permalink) | 1 |
| Get a User (optional) | 1 |
| Create a Data Source Item | 1 |
| Total | 4–5 |
That's roughly 200–250 tasks a month on the Free plan if nothing else is using credits.
The hidden credit burn: the trigger fires for every reaction in the channels it can see, including 👍, 😂 and 🎉. Each one starts a run. That's why the filter sits directly after the trigger: anything that isn't ✅ stops early, before the other modules run. But in a chatty channel, the trigger runs alone can still add up. To keep usage down:
- Watch one dedicated channel (like
#tasksor#to-notion), not your whole workspace. - Drop the optional Get a User step.
- Check usage per scenario in Make's dashboard during your first week.
Make's pricing changes over time, so check current numbers on our Make pricing guide or Make plans before you commit. Affiliate link · I may earn commission from a qualifying purchase at no extra cost to you.
Limitations to know about
- Slack admin approval. Make isn't in the Slack Marketplace, and workspace owners can block it. Sort out permissions first.
- User connection required. Slack Watch modules only work with a user connection, so the scenario runs on that person's access. If they leave the company, the connection breaks.
- Private channels and DMs. You'll need the private-channel version of the Get module, and the connected user must be in the channel.
- Notion access. New databases don't appear automatically. With an internal connection you must share each database with the integration. Make's docs also describe reauthorising the connection to pick up newly added pages.
- Notion API changes. The data-source modules replaced the legacy database modules. Don't mix old tutorials' "Create a Database Item" steps with the new modules without checking the IDs.
- Duplicates. If two people add ✅ to the same message, you'll get two tasks. Add a Notion → Search Objects step to check for an existing Slack link first, at the cost of an extra credit per run.
- Long messages and attachments. Notion text properties have size limits, and files aren't copied across by this setup. The permalink takes you back to the original.
- Slack rate limits. Make's docs note Slack tightened limits on some message-history methods. This setup fetches single messages, so it's lightly affected, but busy workspaces should keep it in mind.
Ideas to extend it
- Add Slack → Send a Message with the Thread message ID (timestamp) set to the original message, so the thread gets a "✅ Added to Notion" reply.
- Use a Router to send different channels to different Notion databases (sales, content, ops).
- Add a "Due date" by spotting words like "Friday" with an AI step (this uses more credits).
If you're comparing tools before building, our Make vs Zapier guide covers how the two price and handle multi-step workflows. For more ideas like this, see our workflow automation hub. If you want to try webhooks somewhere else, the Make webhooks to Google Sheets guide is a good next build.
Start building
If Slack is where your tasks get mentioned and Notion is where they get done, this scenario connects the two with one emoji. It's free to try within Make's monthly credit allowance, and you can grow it as your team does.
Try Make free and build your Slack-to-Notion scenario →Ad: affiliate link. Mike Says may earn a commission if you sign up.
FAQ
Can Make watch Slack reactions?
Yes. Use Slack's Watch New Events module with the event type set to New reaction. It's an instant, webhook-based trigger.
Do I need a paid Make plan?
Not to start. The Free plan includes 1,000 credits a month, and this scenario uses roughly 4–5 credits per task created, plus 1 credit for each reaction that gets filtered out.
Why "Create a Data Source Item" and not "Create a Database Item"?
Notion changed its API in September 2025 to support databases with multiple data sources. Make marked the older database modules as Legacy and recommends the data-source modules for new scenarios.
Is the free Notion Slack app a better option?
For occasional, manual capture, it may be. Make is the better fit when you want one-tap capture with fields filled in automatically, plus room to add more steps.